DIY Watercooled Flashlight
i’ve always been scared of the dark
No matter who you are, you were probably scared of the dark at some point in your life. Even now, I feel scared out in the wilderness looking out into a dark forest. On camping trips, I always make sure to have a flashlight or two in case one dies. You can never be too sure what’s lurking out there.
turn the night to day

Consumer grade flashlights have always been quite lackluster in terms of brightness. So 2 summers ago I made my own high powered flashlight. Most flashlights boast a runtime of tens or 100s of hours, but I was fine with just a few minutes. Brightness was my main goal.
My flashlight needed to be just reasonably portable. I decided that being able to carry it with just one hand was a requirement.
Everything needed to cost under $150 or it just wouldn’t make sense.
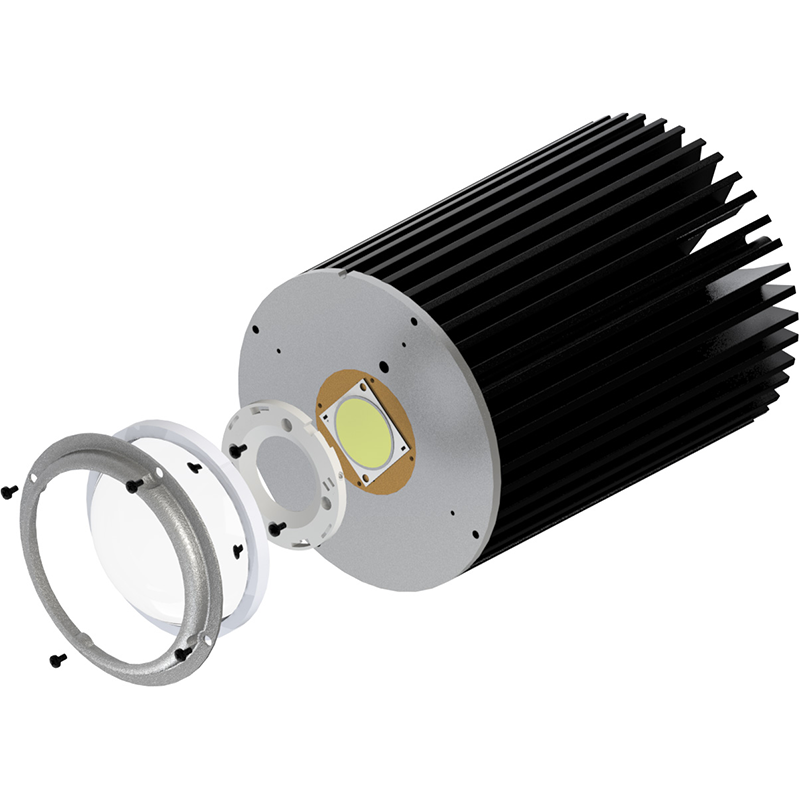
After finding this LED on amazon for only $10 I thought I’d go for it.
hurdles
The internet is no stranger to high-power flashlight builds. COB (chip on board) LEDs are incredibly cheap and easy to find online. So, if they’re so cheap, then why does no one walk around with a flashlight brighter than their phone’s flash?
Reason 1.

Cheap COB LEDs aren’t always the most efficient and without ridiculously sized heat sinks, require active cooling. Without this cooling, LEDs will quickly burn themselves out. As their temperature increases, the resistance increases, which leads to more heat, less light, and eventually a burned out LED. If I wanted my LED to last, this meant that I needed a small, portable, and reliable cooling solution.
Reason 2.
These cheap LEDs require a high voltage just to even power them up dimly. The LED I chose needed 30v to even flicker on. Far more than than the 3.7v that the average phone battery spits out.
In order to get past this hurdle I need a battery that can supply between 30 - 34v, or find a battery with enough capacity and low resistance to provide the current I need to boost up to 30v.
solution
For the heat problem, I chose watercooling because:
A. Size
B. Heat Transfer Coefficient (23x of Air)
C. Sounds Badass
Despite not having any watercooling knowledge, I knew that I could get away with using simple PC watercooling parts to cool my LED. This is because my LED was rated for 100w and typical desktop CPUs have a similar TDP around 100w.
For the voltage problem, I used a boost converter to take 3 high-discharge li-ion batteries in series from ~12v to 34v.
Boost converters work by taking a high current with a low voltage as an input and outputting a low current with a high voltage. Exactly what I need.
Here’s the equation for the relationship between voltage and current
Watts = Volts x Amps
Earlier I mentioned that my LED was rated for 100W and needed between 30 - 34v. This means that I should expect a current of about 3 amps under full power. But we’re still not done here.
In order to reach the full 100w with the 3 batteries at ~12v we need a pretty high current draw.
100w = ~12v x ~8amps
A cheap Li-Ion battery won’t usually need to discharge 8 or 9 amps for extended periods of time so I opted for some Molicel 18650 cells just to be safe.
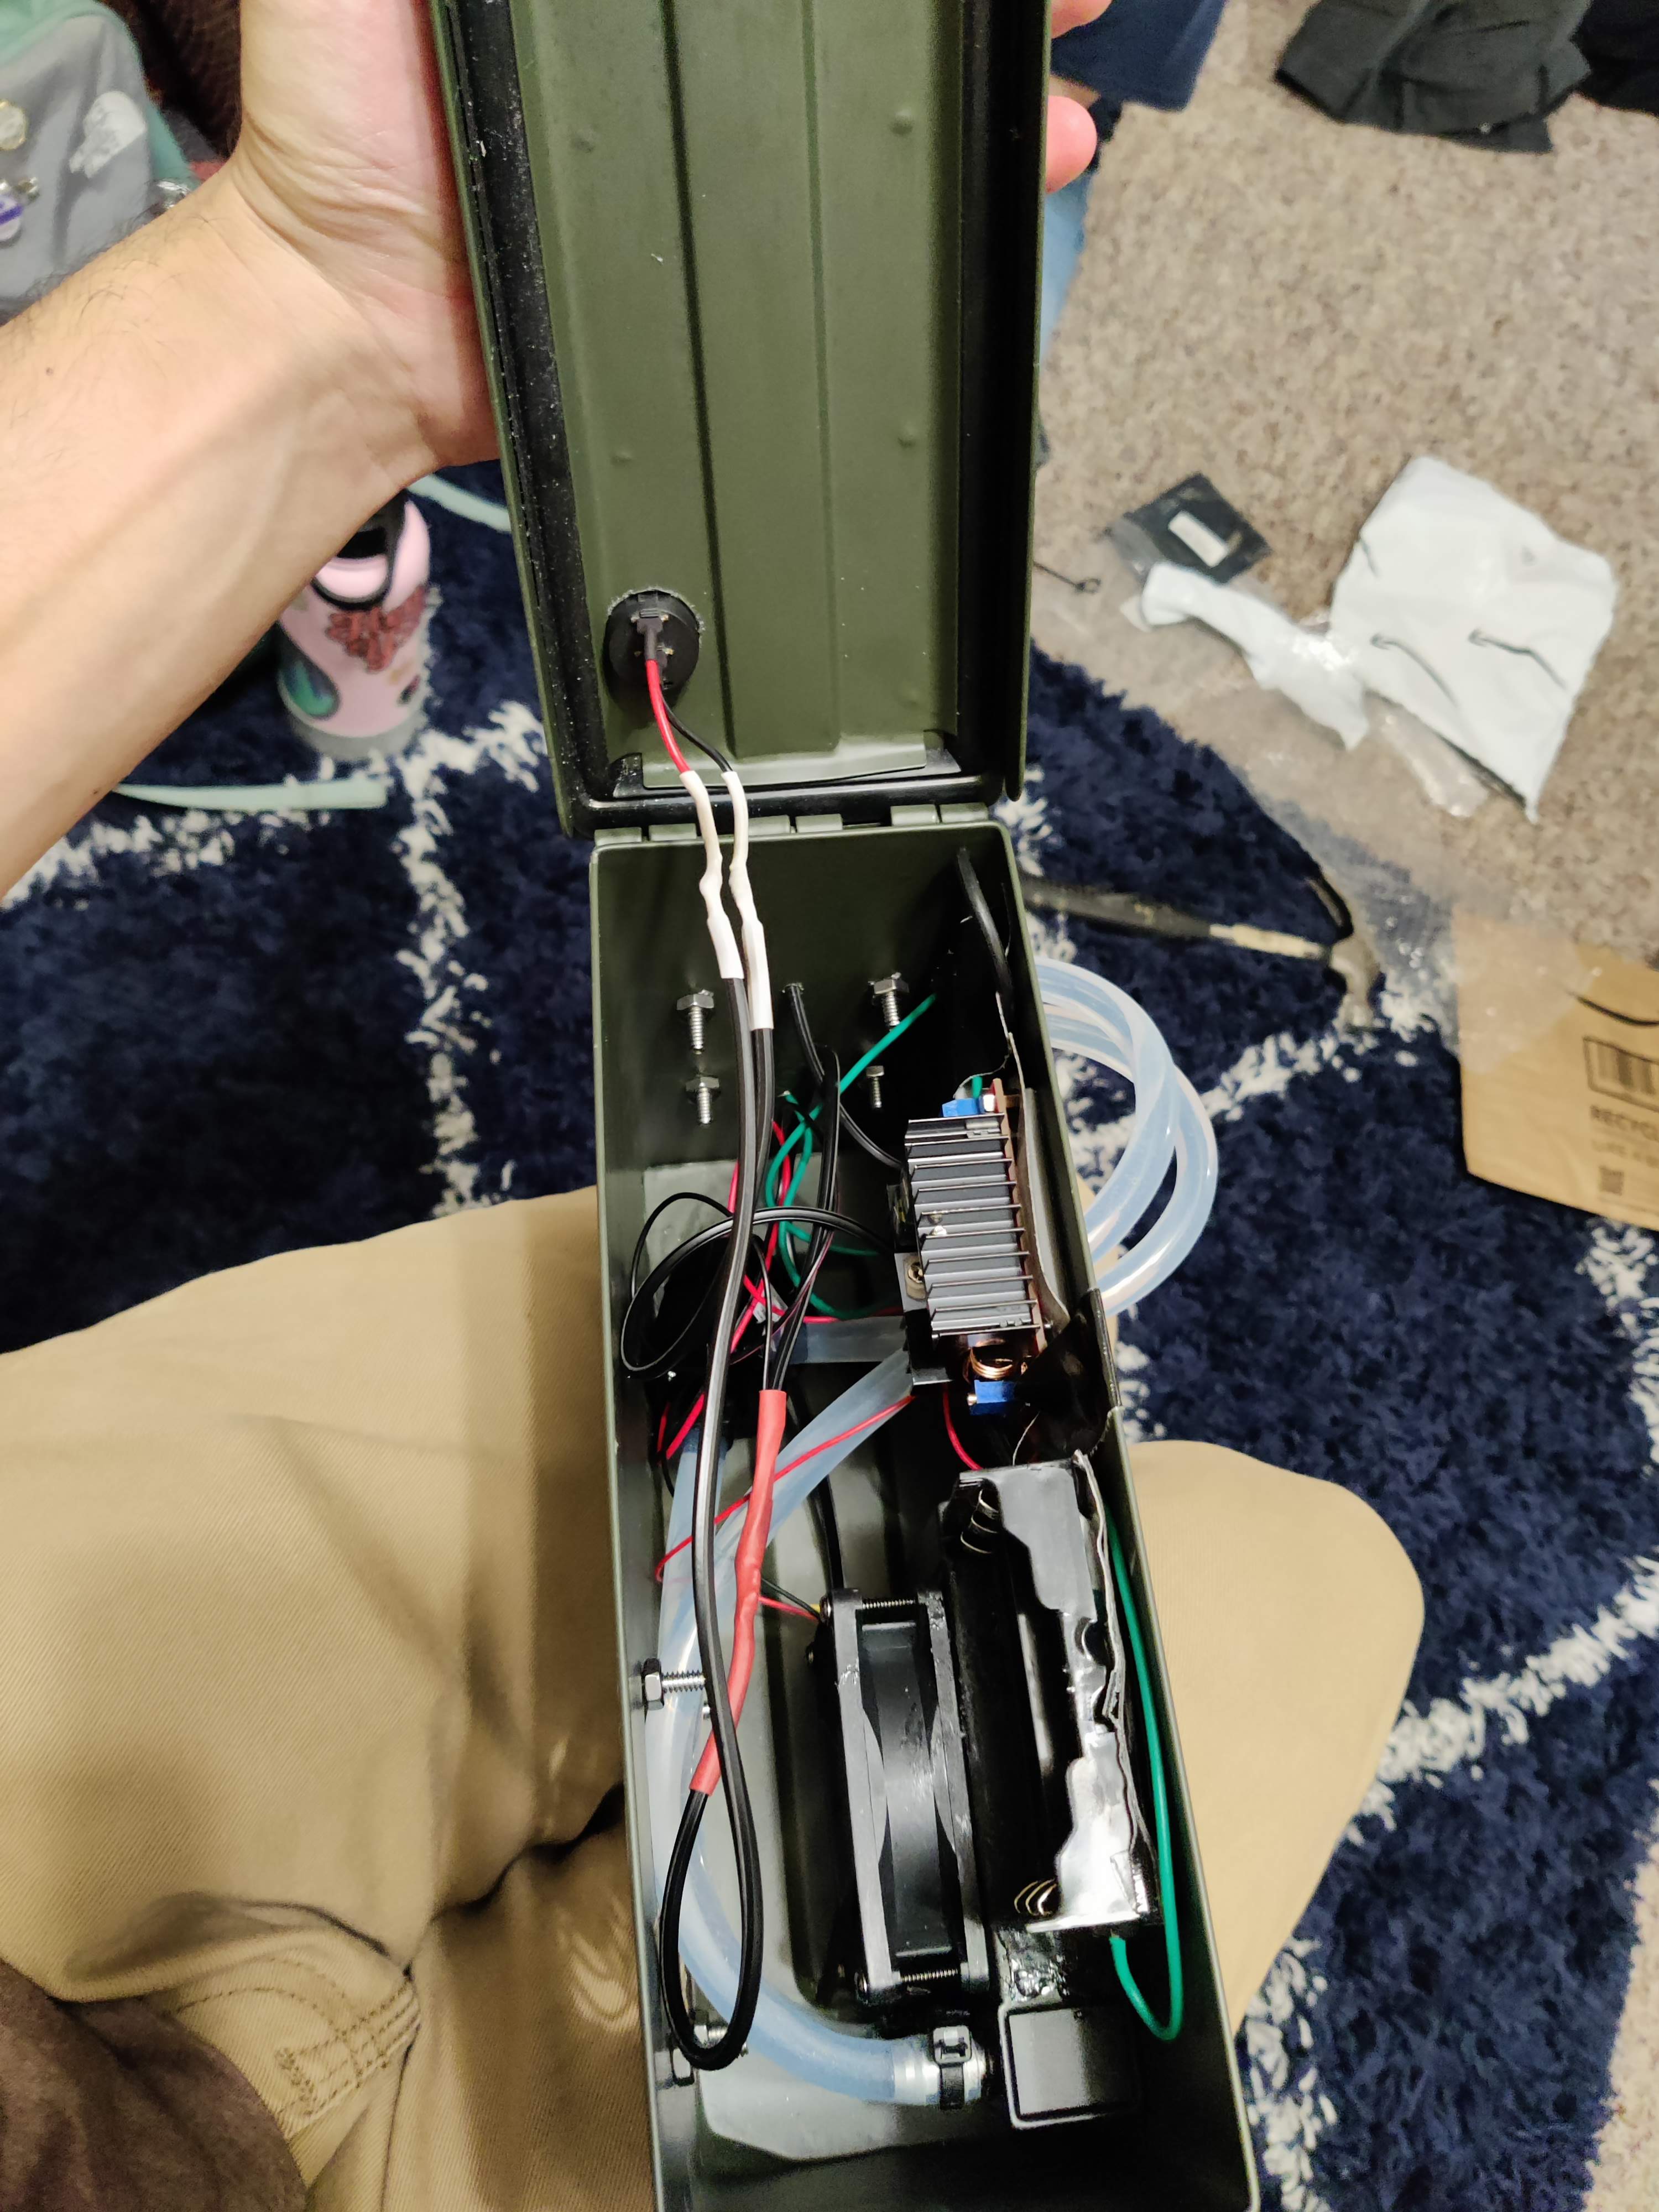
All in all, I bought an aluminum CPU water block, surgical tubing, aquarium pump, 80mm radiator, Three 18650 Molicel cells, and a boost converter.
assembly
Originally I had planned to build the flashlight into something that resembled a radar gun so I could “shoot” light, but I ran out of filament the day I decided to put everything together. I settled on a $6 ammo can from HarborFreight. It fit the aesthetic better and be far more robust anyways.
After cutting a few holes in the sides and front of the can for ventilation and routing water and wires, I was ready to stuff everything inside.

Some of the tubing was hard to get through without any kinks, but a generous “S” shape did the trick after moving the radiator inlet and outlet further back.
“let there be light”
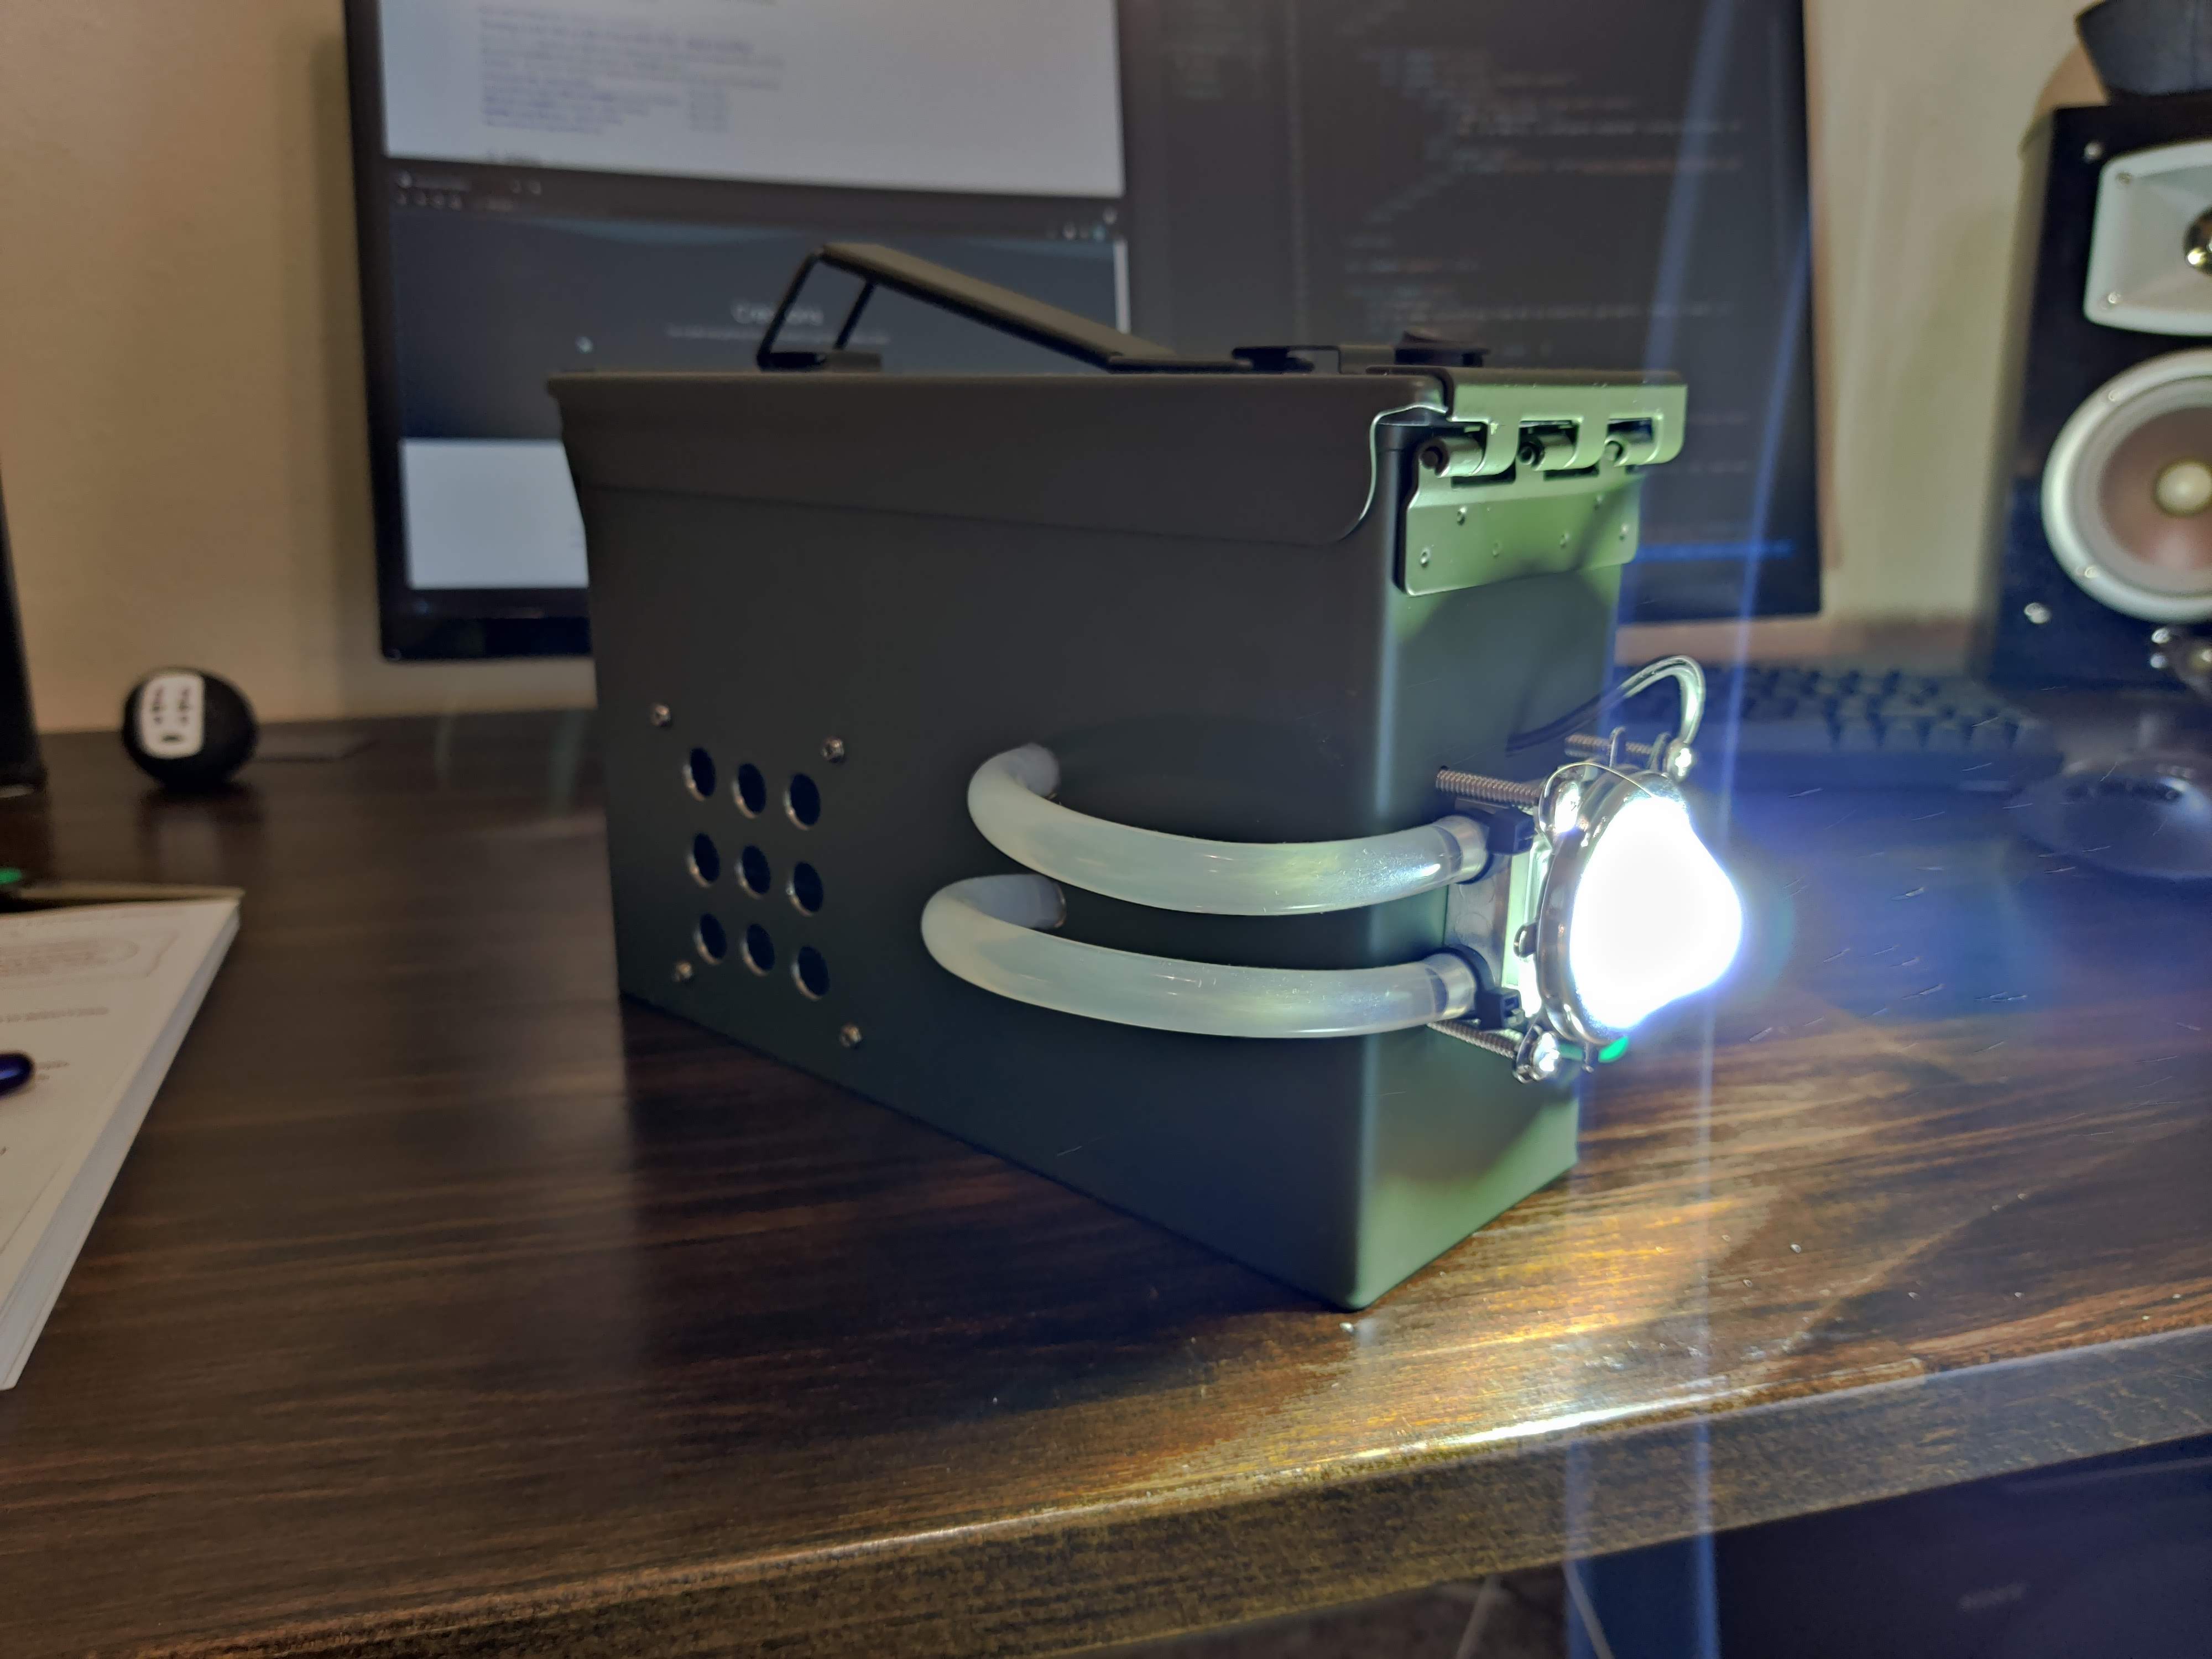
I’m really happy with how my artificial sun turned out. It’s absolutely blinding, and lights up a whole block at night.

Here’s my wife shining it in her mouth and her nasal cavities glowing.

The battery lasts about 15mins on a full charge, and the light runs cool the whole time with a quiet whir of the single fan.
If I could go back and change a few things I would use better tubing and build in some sort of reservoir. After a few weeks, all the water had evaporated from the tubing and filling up a closed loop inside of an ammo can is a huge pain in the ass.